Today’s Pearl of the Day is onCordis Placement! This topic is geared more toward our interns and second-years who have less experience in big trauma (have not yet rotated at Shock).
The
cordis is the preferred central line in trauma
, unstable GI bleeds, ruptured AAAs, or any other situation in which the necessity for rapid transfusion of blood products is anticipated. It is a short, wide, single-lumen central venous catheter that is perfect for rapid large-volume infusions.
The kit looks like this.

(The kit in the picture above also has a sterile sleeve for transvenous pacer placement, but that plays no role in cordis placement for resuscitation).
Here it is with all the components taken out, in order of use.

Note that when you first open the kit, the dilator sits BACKWARDS in the cordis catheter.

So the first step in setting up for this line is to take the dilator out of the front end of the cordis and place it in the back end of the cordis so it looks like this.

Flush the line (unless you need to draw blood off of it immediately) and lock it so it doesn’t bleed everywhere.
The rest of cordis placement is fairly straightforward.
Cordis placement: wire in, dilator-cordis in, wire and dilator out (while cordis catheter stays in).
Contrast that with
triple lumen catheter placement: wire in, dilator in, dilator out, triple lumen catheter in, wire out (while triple lumen catheter stays in).
For a more detailed explanation of cordis placement, READ ON!
By this point the patient has already been prepped/draped/anesthetized (if time permits).
The next step is to
get your wire into the vessel
. To achieve this you can either use the wire-through-needle technique or wire-through-catheter technique. For a review of the wire through catheter technique, please see Dr. Strayer’s video on this topic:
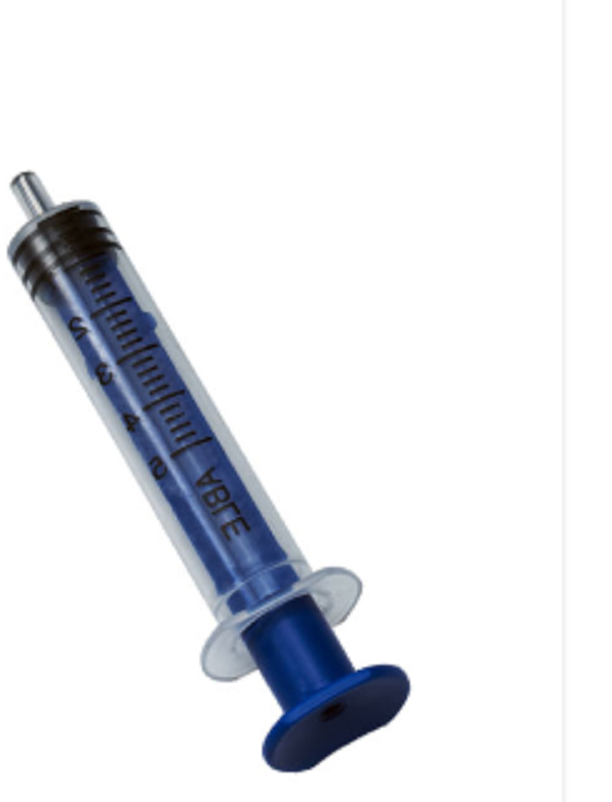
I will focus on the wire through needle technique in this guide.. Note that this kit has a special
blue syringe: the introducer syringe.
It has a hole in the back of the plunger that allows you to advance the needle directly through the syringe and out the needle. Using this feature allows you to skip the step of taking the syringe off the needle which can lead to the needle slipping out of the vessel.
If using ultrasound, note depth of vessel, position in center of ultrasound screen, visualize vessel, and advance needle tip directly into the center of the vessel (see my PIV POD email/Maimo Blog post
http://mmcedrco.w02.wh-2.com/EMBlog/2018/08/23/
for description of this technique).
If using landmarks (this guide will focus on the femoral vein site), place a thumb on the pubic symphysis and index finger on ASIS. The line between them is the inguinal ligament. Half-way between them is the femoral artery and 1cm more medial is the femoral vein.

If you can’t remember which side the vein is on, remember “
venous is toward the penis
”. The
puncture site should be 1-2cm distal to the inguinal ligament
.
If the artery is palpable, enter 1cm medial to it. If it isn’t easily palpable, enter just above the webspace between your thumb and index finger as they are positioned on pubic symphysis and ASIS respectively.
Always aspirate the plunger while you advance.
Once you get flash, keep needle/syringe perfectly still in non-dominant hand braced on patient. Check once more that blood can be aspirated, then reach for wire with your dominant hand;
advance wire through syringe
(assuming you’re using the blue introducer syringe). It should advance smoothly. If it doesn’t, take out the wire, check that blood is still easily aspirated, reposition or drop your angle as needed and try to advance wire again.
Wire is now in place.
Needle/syringe are removed
over the wire. Make a
skin-nick with the scalpel
in the direction of the wire.
Advance the dilator-cordis-unit over the wire
, stabilizing the wire from behind the dilator-cordis with your non-dominant hand and advancing the dilator-cordis with your dominant hand.
Advance sequentially with small twisting motions
always
gripping the cordis close to the skin
, until it is “hubbed” (cannot advance any further).
Wire comes out, then dilator comes out.
(Or wire and dilator can come out together if you can grab them both comfortably). Flush your line, suture in place, cover with sterile dressing kit, and you’re done.
Image credit:
Brown EM Educational Blog Website
(
Google image search